How to Take Better Photos of Your Rental
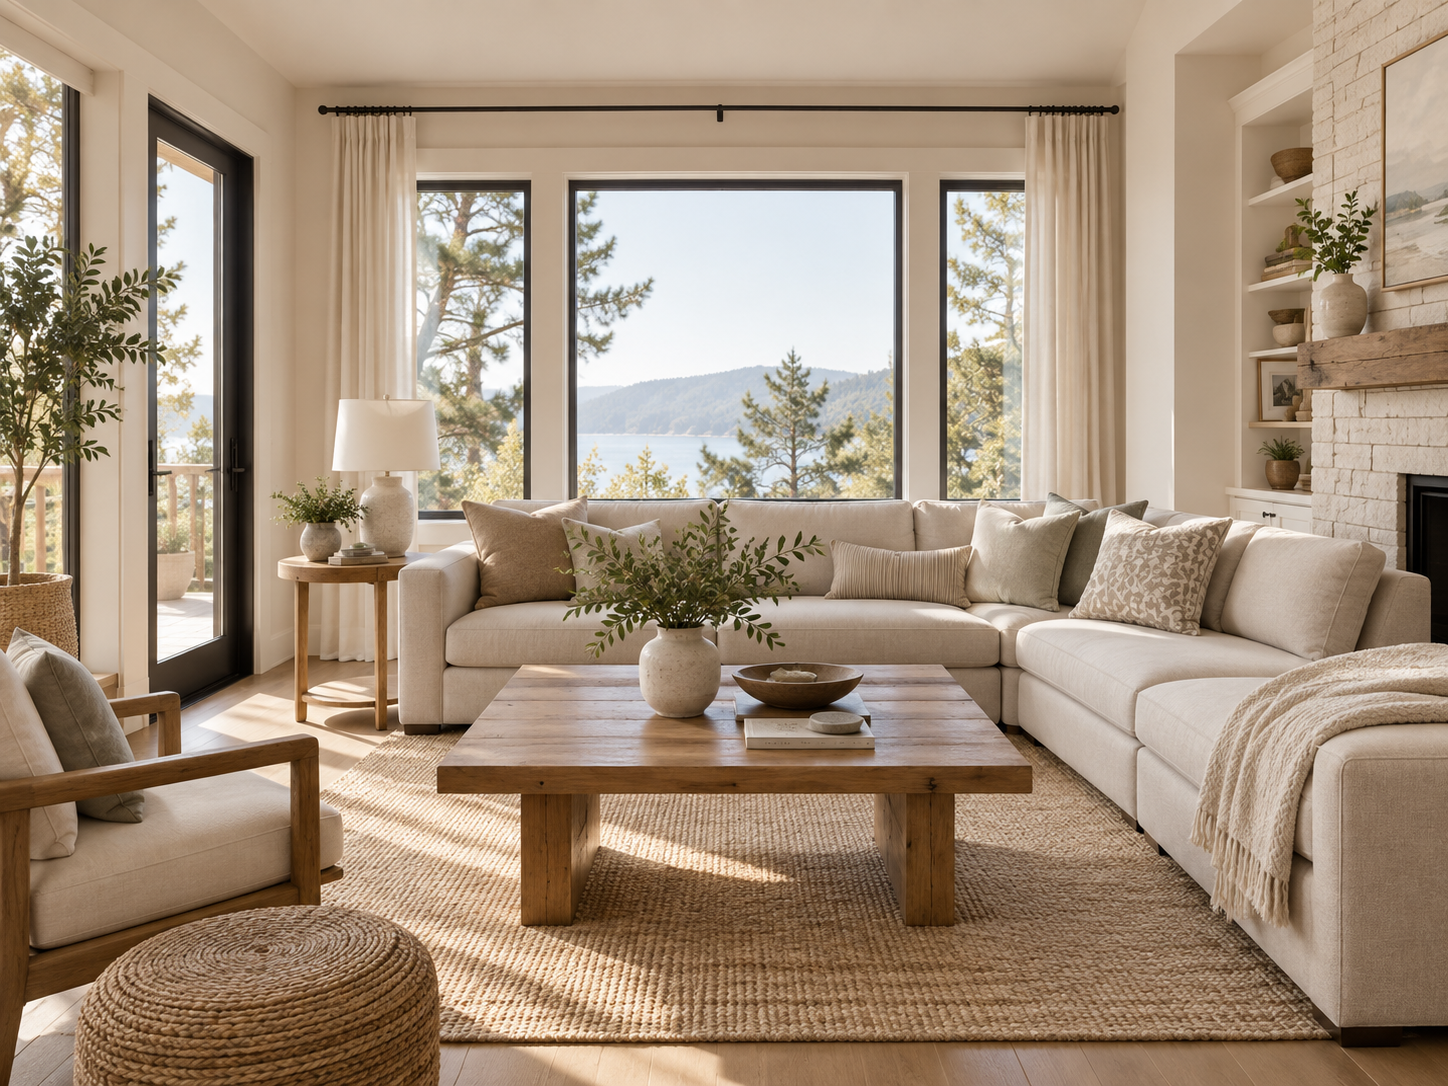
Great property photography is less about expensive equipment than it is about light, composition, and knowing what a guest needs to see.
You do not necessarily need a professional camera—or even a professional photographer—to make a vacation rental look significantly better online. A newer smartphone, a little preparation, and a more deliberate approach can go a long way.
The goal isn't to make the property look larger or more luxurious than it really is. It's to show the space at its best while giving potential guests a clear sense of what staying there will actually feel like.
Start Before You Pick Up the Camera
Photography begins with the room itself.
Before shooting, walk through the property and remove anything that makes the space feel visually busy.
Put away remote controls, cleaning products, charging cables, tissue boxes, extra countertop appliances, half-used toiletries and anything else that doesn't need to be in the photograph.
Then straighten the things you are keeping.
Fluff pillows. Smooth bedding. Align dining chairs. Fold towels intentionally. Straighten artwork. Hide electrical cords where possible.
You don't need to strip the room of personality. You just want the guest's eye to land on the space, not the clutter inside it.
A good test: stand in the doorway and notice the first three things your eye goes to.
Those should probably be things you actually want to show.
Photograph in Natural Light
Whenever possible, shoot during the brightest part of the day when the room receives soft, even natural light.
Open curtains and blinds completely.
Avoid photographing directly into harsh midday sun if it creates blown-out windows or deep shadows across the room. Depending on the direction your windows face, slightly earlier or later in the day may produce much better results.
Overcast days can actually be excellent for interiors because the light is naturally diffused.
For most rooms, you want the space to feel bright without looking artificially white.
And unless the room is genuinely dark, avoid turning on every overhead light simply because you can. Mixing cool daylight with warm artificial lighting can make photographs look yellow or muddy.
Table and floor lamps can be useful for atmosphere. Overhead lights are usually less flattering.
Keep the Camera Straight
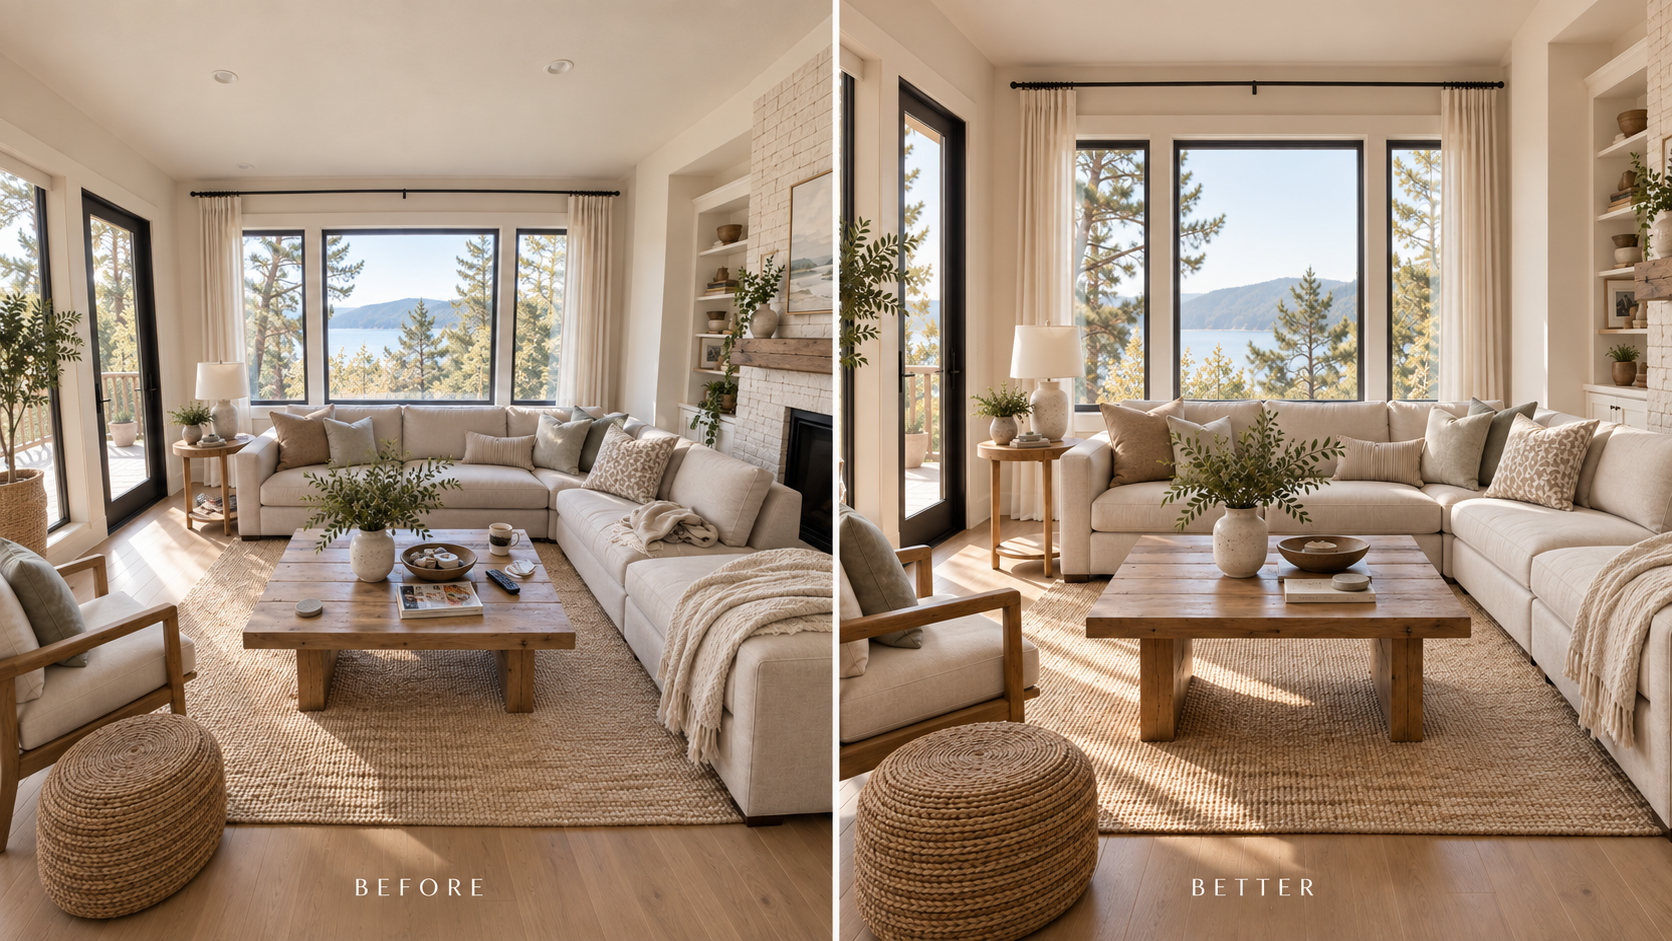
This one change can make amateur property photography look dramatically better.
Hold the camera vertically level so walls, doorways and cabinets remain straight rather than appearing to lean backward.
Try shooting from around chest height, rather than standing upright and pointing the camera downward.
You want the viewer to feel like they are standing naturally in the room.
Turn on the grid in your phone's camera settings if you haven't already. Use the vertical grid lines to check door frames, corners and windows before taking the photograph.
Straight architecture instantly makes the image feel more considered.
Step Back Before Using the Wide-Angle Lens
The instinct with small rooms is to switch immediately to the widest possible camera setting.
Be careful.
Ultra-wide lenses can stretch furniture, distort the edges of rooms and make spaces look unnaturally large.
Whenever possible, physically step backward first.
Shoot through a doorway. Move into a hallway. Back into the corner of the room.
On a phone, the standard 1× lens generally gives the most natural-looking perspective.
Use 0.5× when the room truly requires it, but avoid placing important furniture near the extreme edges of the frame where distortion is strongest.
The goal is spacious—not warped.
Photograph From Corners and Doorways
For your main room photographs, positioning yourself near a corner or doorway will usually reveal the space better than standing directly in the center.
Try to show how the room connects.
Rather than photographing only a sofa, show enough of the living room that the viewer understands where the sofa sits in relation to the windows, fireplace, dining room or outdoor space.
Guests aren't just evaluating furniture.
They're mentally building a floor plan.
Your photographs should help them.
Show Two Walls Whenever Possible
Interior images often feel more dimensional when you can see portions of two adjoining walls.
Photographing a wall completely straight-on can work beautifully when you are showcasing something specific—a bed, fireplace, artwork or kitchen—but using only straight-on photographs throughout a listing can make rooms feel flat.
Mix wider corner views with deliberate straight-on compositions.
That creates both context and visual interest.
Give Every Room One Strong Photograph
Before worrying about detail shots, make sure every important space has at least one photograph that clearly explains the room.
For example:
Bedroom: bed, headboard and enough surrounding architecture to understand its scale.
Living room: primary seating area plus windows, fireplace or adjoining space.
Kitchen: cabinetry, counters and overall layout.
Dining area: entire table and relationship to the kitchen or view.
Bathroom: vanity plus enough of the room to understand the shower or tub.
Outdoor space: the reason someone would want to spend time there.
Once you have that photograph, add supporting angles.
Don't use six slightly different photographs when two strong ones explain the room better.
Pay Attention to What Is at the Edge of the Frame
Before pressing the shutter, scan all four edges of the photograph.
This is where many distracting mistakes hide.
Look for:
half of a chair
a lampshade barely entering the frame
open doors that create awkward lines
cropped artwork
trash cans
exposed cords
reflections of the photographer
ceiling fans cut awkwardly in half
Sometimes moving six inches to the left makes a photograph substantially better.
Photograph the Features Guests Actually Book
Once you have documented the rooms, think about what makes this property different from the next listing. A guest scrolling through dozens of listings may remember one distinctive image long after they forget the square footage.
That may be the hot tub.
The screened porch.
The view from bed.
A fireplace.
A soaking tub.
An outdoor dining table.
A record player.
Original architecture.
Local artwork.
A beautifully stocked coffee bar.
Include Details—But Only After the Space Is Clear
Detail photography adds personality, but it should support the listing rather than dominate it.
A close photograph of beautiful artwork, linens, coffee, books or guest amenities can help communicate the experience of the property.
But a guest should never have to scroll through five styled vignettes before understanding what the living room looks like.
Think of your gallery in layers:
Room → feature → detail.
First establish the space.
Then show what makes it special.
Then show the thoughtful details.
Photograph the View From Inside
If location is one of your property's strengths, don't only photograph the landscape itself.
Show what it feels like from the house.
Photograph the ocean through the living-room windows.
The mountains beyond the dining table.
The pool from the bedroom.
The trees outside the screened porch.
Guests aren't simply buying access to a destination. They're imagining themselves occupying the property within that destination.
A contextual view often communicates that better than a standalone landscape photograph.
Keep Editing Natural
Basic editing can improve almost any property photograph.
Adjust exposure, shadows, highlights, white balance and vertical perspective when needed.
What you don't want to do is edit the property into something it isn't.
Avoid aggressive HDR, oversaturated skies, orange interiors and extreme wide-angle correction that makes rooms look enormous.
Whites should look white.
Wood should look like wood.
Windows should still contain some detail.
A good edit should make the photograph feel like a particularly good day at the property—not an entirely different property.
Think About the Order of Your Listing Photos
Photography doesn't stop once the pictures are taken.
Your gallery is part of the guest's first walkthrough.
Start with the property's strongest image—not necessarily the exterior.
Then quickly establish the most important spaces and amenities.
A strong sequence might look like:
Hero image → living space → primary bedroom → kitchen → outdoor feature → additional rooms → bathrooms → details → exterior → surrounding area.
Exact order will depend on why guests choose the property.
A beachfront house should probably establish the beach quickly.
A mountain cabin should show the view.
A design-driven property may lead with its strongest interior.
Your first several images should answer:
Why this one?
When Is It Worth Hiring a Professional?
There is still a point where professional photography becomes one of the better investments you can make in a vacation rental.
Consider hiring someone when you're launching a new property, completing a significant renovation, repositioning the home at a higher nightly rate, or creating imagery you plan to use across Airbnb, Vrbo, your own website and marketing.
A good architectural or interiors photographer will bring better lenses, lighting control and post-production—but perhaps more importantly, they know what to leave out of the frame.
Even then, understanding these principles will help you prepare the property and communicate what you want photographed.
The Takeaway
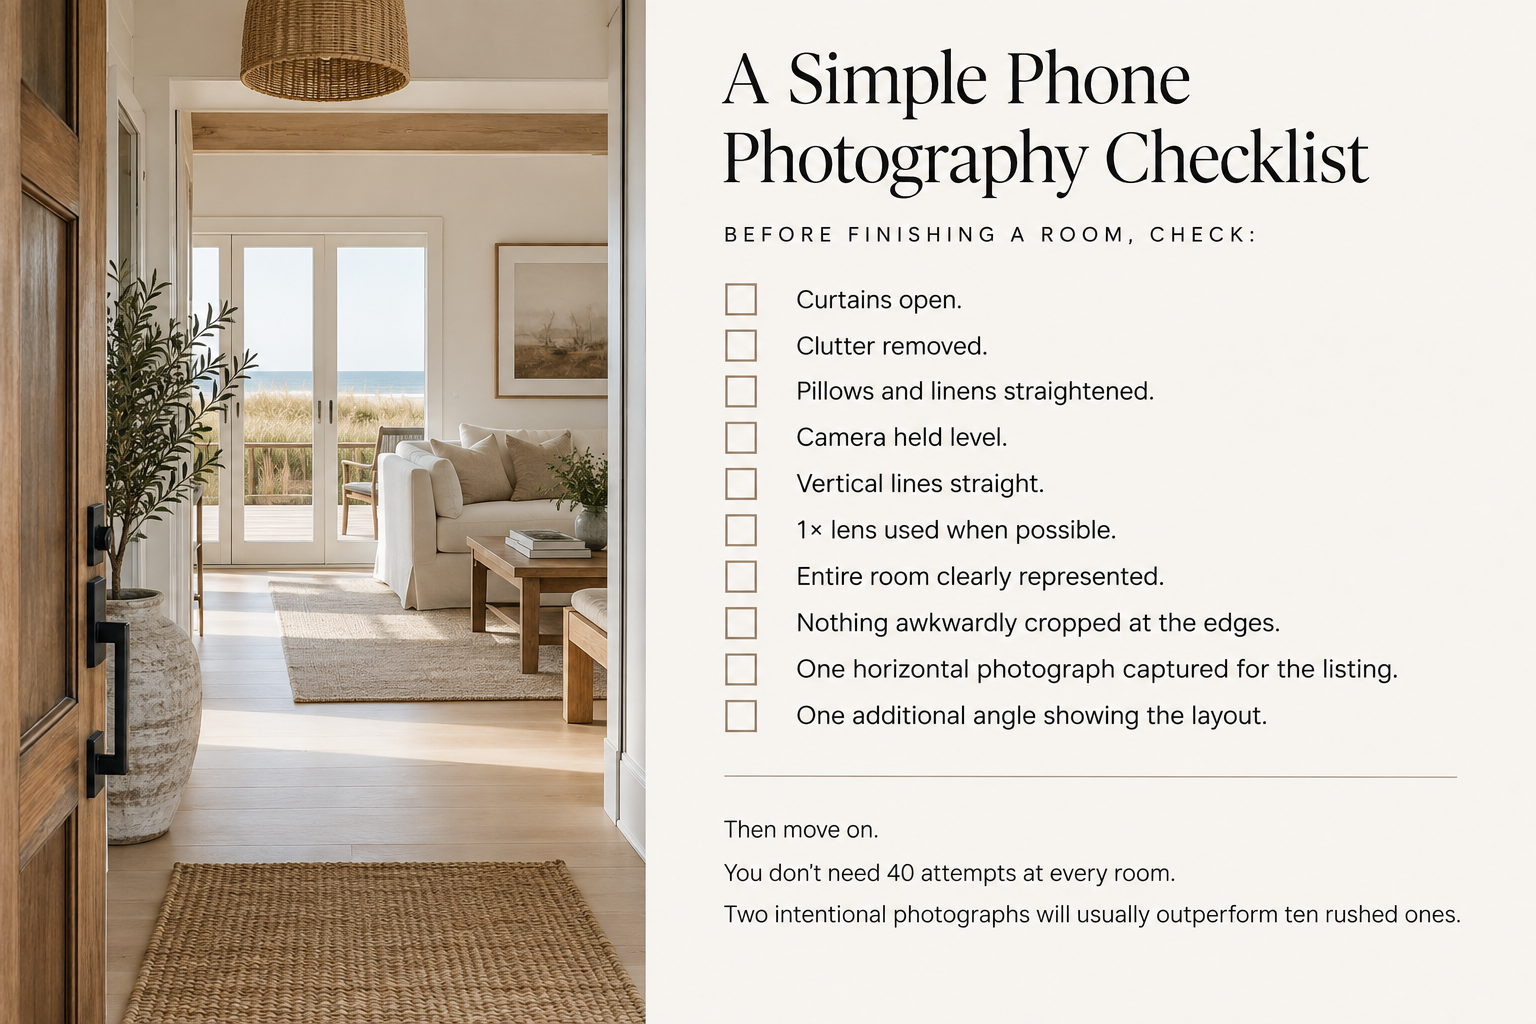
Better rental photography isn't primarily about equipment.
It's about slowing down enough to notice what the camera sees.
Use natural light. Keep your lines straight. Give rooms breathing room. Show how spaces connect. Remove distractions. Photograph the details that make the property memorable.
Above all, make it easy for someone looking at the listing to imagine being there.
That's what the photographs are ultimately selling.